Showing posts with label Piper Jaimes. Show all posts

Friday, February 22, 2013

What's For Breakfast? - Healthy Blue Vanilla Protein Pancakes

As any parent knows, choices are a big deal with toddlers and preschoolers. It gives them a sense of control and independence. Give your child a wide variety of choices when it comes to the foods she eats, especially if your child has become the "picky eater" as mine has. It may be your only saving grace. **DISCLAIMER:  When giving choices, be very aware that you may end up making dishes that make no sense to you. Nevermind. Fix it anyway.**  When you let them help and they can "make it themselves," it adds another bonus. You can use it as mealtime ammunition. "But Mooooommyyyyy, I don't want to eat breakfast any-MORE!"  "You made it yourself! Of course you want to eat your own awesome breakfast that YOU made!"  Like that.

Here is basically the same recipe as my Healthy Vanilla Caramel Cinnamon Pancakes I blogged a little while back. Only no cinnamon or caramel. And Pip wanted them bright blue. Obviously, make any color you want.

~Ingredients~

2 scoops vanilla creme whey protein powder
2 cups quick oats (food-processed into a fine powder)
3 tsp. Stevia
1/2 cup water
6 egg whites
neon blue food coloring

 ~Directions~

1.  Combine all ingredients and mix with a food processor, blender, or submersible wand until smooth. Let the mini-person participate.
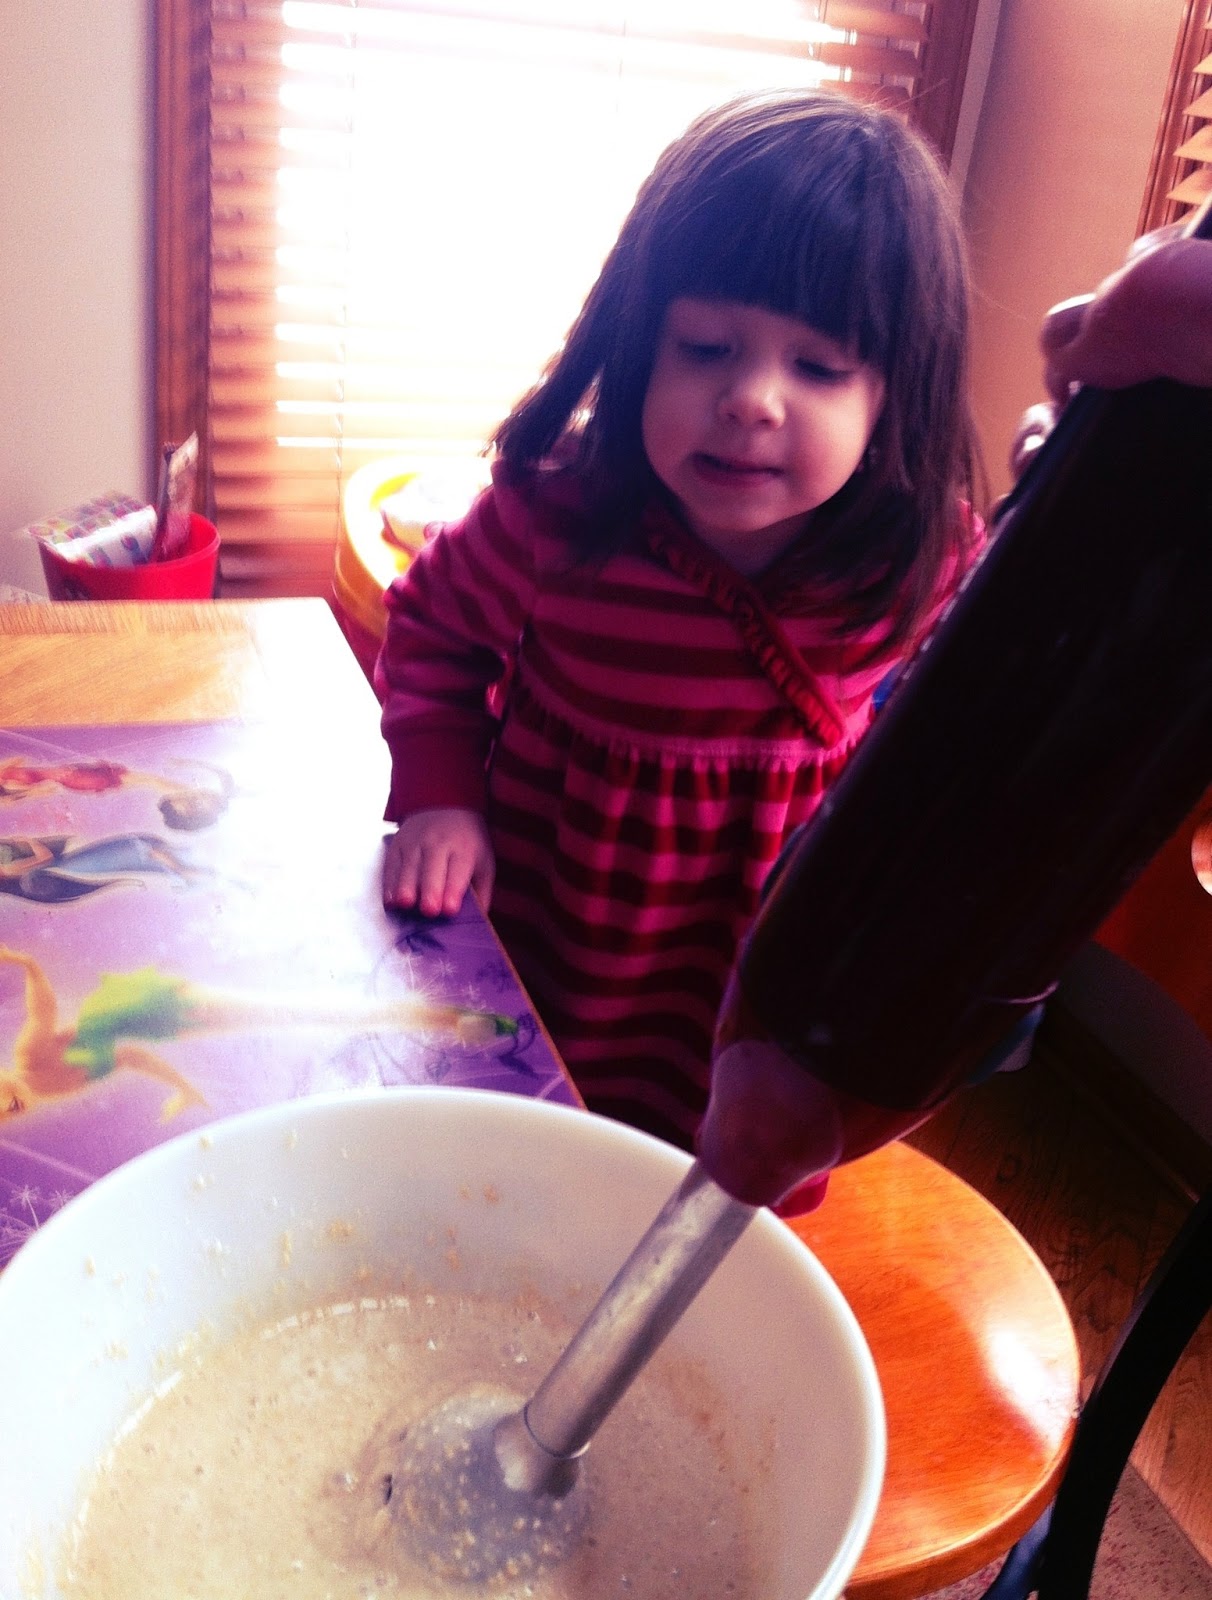
 2.  Start with 5 drops of food coloring and add more drops until you reach desired color. I think I used 15.
 3.  Let the small person help stir! They'll enjoy seeing the color appear.

 4.  Make pancakes as usual.  Your child should look something like this, and so should you knowing that you fixed a healthy and substantial breakfast!


Read More...

Sunday, December 23, 2012

What's For Breakfast? - Healthy Vanilla Caramel Cinnamon Protein Pancakes!

Piper eats very healthy throughout the week so the weekend is when I let a few special treats sneak in.  The girl is addicted to pancakes and would eat them all day every day if I let her. So of course I wanted to try and make a plain 'ol pancake into something with some nutrition in it while still being super delicious. Pip also still eats very little meat and only gets her protein from yogurt, cheeses, edamame, etc. That means I pour a little whey protein powder in her milk on those days when she has avoided good sources of protein.  I have chocolate, strawberry, and vanilla caramel (her fave) in the pantry so I figured I'd put one of them to use for extra protein! I think I found the perfect balance of "yum" and "health" in these pancakes and I hope your family loves them too!

~Ingredients~

2 scoops vanilla caramel whey protein powder

2 cups quick oats (food processed into a powder)

3 tsp. Stevia

3 tsp. baking powder

3 tsp. cinnamon

1/2 cup water

6 egg whites

Non-stick cooking spray

~Directions~

1.  Combine the food-processed oats, protein powder, Stevia, baking powder, and cinnamon and mix well. Let your toddler help!
2.  Add egg whites and water. Mix well. Let your toddler help!
3.  Put the mixture in a food processor or blender and process until very thin and no large chunks remain.
4.  Spray non-stick cooking spray into some pans and make your pancakes as usual!  They will come out so lovely!
5.  Healthy AND kid-approved!

Read More...

Friday, November 23, 2012

Foodie Fun: Moon Sand For Sensory Learning!

Much like the dry, dyed pasta, there are so many sensory activities at your fingertips right in your own kitchen!  Today while Pip snoozed at nap time, I made her a big bucket of MOON SAND.  Soft, silky, and cool to the touch but like sand, it can be molded into sculptures, shapes, hand prints, etc.  I think at 2 years and 4 months of age, it might still be a good idea to keep some newspaper under the bucket, or the Dustbuster around. But the older your child gets, the better their gross and fine motor control will be and they will be able to keep the moon sand in the bucket with little to no accidents.  I know I made this for Pip but as was the case with the Calming Jars, I CAN'T STOP PLAYING WITH IT MYSELF!!!


~Ingredients~

8 cups of flour
1 cup baby oil

~Directions~

1.  Mix ingredients together and squeeze with your hands until all of the baby oil is absorbed and evenly distributed throughout.  

VOILA!

Read More...

Saturday, November 17, 2012

Reflections In The Kitchen Window - Tranquil Calming Jar: Part Vert

So after the first Calming Jar I made Piper earlier today, I became a little obsessed and had to make another. I love them. They're like lava lamps. *Note to self, I need to buy another lava lamp.*  This one I made out of a plastic peanut butter jar.  I removed the label residue with Goo Gone and created it exactly the same as the blue one, only this time I used two drops of green food coloring, one tube of green glitter glue, and one tube of yellow glitter glue.  The green is equally as soothing as the blue and this one is a lot less weight for someone as small as Piper to handle. Maybe Mommy will have to keep the blue one....

Here is a video of the green one I just made. The videos don't do them justice. They're SO BEAUTIFUL in real life!  Be sure to let me know how the ones you make turn out!


Read More...

Reflections In The Kitchen Window - Tranquil Calming Jar

Although I feel blessed to have a two-year old who doesn't throw too many temper tantrums, I almost feel less equipped to handle them when they do come around because they happen so infrequently. I find myself needed to take a deep breath, count to ten, and keep my voice at a very low volume. Adding to the chaos does no one any good and two humans yelling surely doesn't make anything more pleasant. So I did a little research and gathered the best methods from a few different people's trials and errors, and created a PERFECTLY TRANQUIL CALMING JAR. 


Especially teaching a classroom full of 2 and 3-year olds I have come to realize that sometimes their poor choices and behavior are much like a snowball effect. Once they start an undesirable behavior, it sort of escalates and can't be stopped until an adult can come into the picture and redirect the channel. That's the purpose of the Calming Jar. They can shake it and watch the glitter swirl to the bottom, which takes about 1 and 1/2 to 2 minutes. Perfect amount of time to regroup and go on about their activities, hopefully in a more peaceful state of mind.

I chose blue food coloring in the water because I love the cool and calm serenity that it represents. For the 2 tubes of glitter glue I used blue and silver.  Now that I have made one for Piper, I think I may make one for myself. Who can't use a little decompression from time to time?

~Ingredients~

Warm water
Goo Gone (to remove any sticky residue on the bottle once any label is removed)
Food coloring (I used 2 drops of neon blue in a 1 liter bottle)
Two tubes of glitter glue
Bowl with a lip
Funnel
Wire Whisk


~Directions~

1.  Fill container 90% full with warm water.  Add desired amount of food coloring.
2.  Add your tubes of glitter glue and shake.  It will seem a little clumpy even after shaking.
3.  Pour the mixture into a bowl with a lip.
4.  Get the clumps out by whisking the mixture.
5.  Set the funnel on top of your container to prevent spilling, and pour the mixture back in.
6.  Ta da!  Here is the super duper tranquil calming jar.  I love it!!


Read More...

Sunday, August 19, 2012

Reflections in the Kitchen Window: Whole Foods - 1, Crap - 0

I catch myself comparing my child to the vast majority of other children and get myself in a tizzy about things that aren't really that bad. Today I made these amazing super duper Healthy Triple Chocolate Chunk Protein Muffins thinking that Piper would just be in HEAVEN to practically eat chocolate cake for breakfast. She took two bites and said she didn't want it, but wanted a banana instead. For lunch I told her I was making "circles," when really it was a hot dog cut into round cross-sections (if i were to say "hot dog," she'd want nothing to do with it from the get go).  When I made her all-beef Hebrew National "circles," she acted like she was actually afraid of it. So she ate cheese, lima beans, whole wheat bread, and 5 strawberries for lunch instead. I found myself getting frustrated and thinking things like, "What kid doesn't like chocolate muffins for breakfast and hot dogs for lunch??!!"  But I wasn't focusing on the positive. This child loves WHOLE foods. How can I be upset with that? Cheese, fruits, grains, and greens vs. chocolate and nitrates.  I will try harder not to focus so much on what society's expectations are of a toddler and take my cues from her. She seems to gravitate toward a healthier lifestyle anyway. I suppose she could teach me a thing or two!

vs.

Read More...

Sunday, July 29, 2012

Reflections in the Kitchen Window: TOO BUSY TO BLOG, ARGH!

July is by far the most chaotic month for Piper and me. My birthday is the 22nd, so was the 2nd Annual Foodie Festival this year, her birthday is the 27th, plenty of out-of-town guests and just not enough time to plan it all!  I am far behind I know, please bear with me. Today we painted bread with milk and food coloring and had a very good time incorporating food and art. I hope to blog about that as soon as tonight!  Please don't forget about me, I'm sorry I've been a very bad blogger.

Love and munchies,

Bailey Jane and The Pip

Read More...

Friday, July 6, 2012

What's For Dessert? - Summertime Pink Lemonade Cake

Here's the deal. I am not an expert baker. It take exactness and precision, two qualities of which I am sorely deficient. BUT! This cake came out tasting absolutely wonderful! Light, summery, cool, dense, and creamy. The appearance wasn't exactly what I was going for though...I will admit it looks a bit Seuss-ish. If you think you can take my method and tweak it just a little to make it prettier, by all means have at it! I will say that if you make it exactly how I did, you and your family will not be disappointed!

~Ingredients~

2 sticks of butter
4 eggs
1 Tbsp. baking powder
3 and 1/3 cups all-purpose white flour
2 cups sugar
1/2 tsp. salt
1 and 1/3 cups whole milk
1/4 cup frozen pink lemonade concentrate, thawed
2 cans of vanilla or buttercream frosting
1 tsp. lemon extract
strawberry extract
purple or red food coloring
lemon, thinly sliced horizontally
~Directions~

1.  Allow butter and eggs to stand at room temperature for 30 minutes while you are measuring the other ingredients.  Grease two 9-inch round cake pans.


2.  In a medium bowl stir together, flour, salt, and baking powder. Set aside.
3.  Preheat your oven to 350 degrees. 
4.  In an extra large mixing bowl, beat butter with a mixer on high for 30 seconds. 

5.  Gradually add the sugar a little bit at a time, beating until mixed thoroughly. Make sure the sides of the bowl are scraped and beat for 2 more minutes.
6.  Add 1/8 of a teaspoon of food coloring and mix until well combined.
7.  Add eggs one at a time, beating each one well until they are mixed thoroughly.
Pretty colors!
8.  In a bowl, stir together the milk, pink lemonade concentrate, and lemon extract. It will look curdled.
9.  Alternately, add flour mixture and milk mixture to butter mixture, beating after each until combined.
Soooo pretty.
10.  Remove 4 cups of colored batter and spread into one greased pan.
11.  In the remaining batter left in the bowl, add 1/4 tsp. more of food coloring and spread in second pan.

12.  Bake 35 minutes. Meanwhile, add a little lemon and strawberry extract to your frosting to your desired taste.
13.  Cool in pans for 15 minutes.
14.  Remove from pans and cool completely on a wire rack.
15.  Trim off domed tops of the cakes so that each one is flat.

16.  With a long, serrated knife, cut each cake in half horizontally so that there are four layers.
17.  Place one darker layer, cut-side down, on a plate. Spread frosting on top of the layer, to the edges.
18.  Top with a light layer, topped with another dark layer, spreading frosting just to the edges again with each layer.  Stack the last light layer, cut-side down on the top, frost the top and sides as desired.
19. After frosting the entire cake, add the thinly-sliced lemons to the top for garnish...


IT REALLY IS A BEAUTIFUL, SUMMERY CAKE!!

Read More...

Tuesday, June 26, 2012

Kitchen Goddess: NO MORE MUFFINS??

I know I've been a little crazy with the muffins lately, but apparently things have gotten just way outta control in the freezer. What with the zucchini-carrot whole wheat, banana oat protein, strawberries 'n cream protein, carrot cate protein, sausage-corn breakfast, and the buckwheat maple syrup pancake muffins I made just this last weekend, I came home to find this note left on my laptop: 

Apparently I need to find a new kick. Because this one has worn out its welcome.

Read More...

Reflections In the Kitchen Window: Happy Birthday, Pearl S. Buck

Today in 1892, Pearl S. Buck, the author of Pulitzer Prize winning novel "The Good Earth" was born. In it she writes, "To eat bread without hope is still slowly to starve to death."

It's only metaphorically food-related, but a nice way to start the day nonetheless.  I hope everyone has a fantastic Tuesday!

Read More...

Sunday, June 24, 2012

Kitchen Goddess: Homemade Paints For Toddler!

We don't have to spend nearly as much money on things we can simply make from ingredients right in our own kitchens! All you need is a little cornstarch, some water, and a little food coloring, and VOILA! You have homemade paints for your little person. Don't worry about the food coloring staining their skin for long. One bath, maybe two, does the trick. Their artwork masterpieces are way worth it anyway. 


~Ingredients~

1 cup water
1 cup cornstarch + 1/4 cup
Neon and regular food coloring
aluminum muffin tin

~Directions~

1.  Mix water and cornstarch together. Sprinkle more cornstarch in to achieve desired consistency.
2.  Pour the mixture into the muffin tins.
3.  Add food coloring to each to create different colored paint.
4.  Give the kid a brush or let them use their hands and feet!


Read More...

Saturday, June 16, 2012

What's for Dinner? - Savory & Sweet Sausage Bacon Corn Muffins

I realize I've been on a muffin kick lately. Forgive me, they're just so CUTE. Delicious little serving-sized poofs of deliciousness. What's not to love??  I've been doing a lot of sweet and healthy muffins for Piper's breakfasts including fruits and veggies, but this time I wanted to stray just a little and try something sweet and salty. Not quite as healthy as the others but geez, every now and again it's nice to indulge.  They came out sooooooo yummy I had to share on the day of making them rather than wait and accidentally forget to share the recipe with you all.  My little creation came out SO GOOD, and there's nothing about these that the kids won't love as well. Bon appetit!


~Ingredients~

1/2 pound of Farmland Pork & Bacon Pork Sausage
2 cups of all-purpose white flour
1/4 tsp. baking soda
3 tsp. baking powder
1 Tbsp. wheat germ
2 Tbsp. Stevia
1/2 tsp. salt
1/3 cup whole milk
2 brown eggs, beaten
1 cup canned creamed corn
1/4 cup Canola oil
1/4 cup butter, melted
~Directions~

1.  Cut the 1 pound of pork & bacon sausage in half and place only one of the halves into a skillet, brown thoroughly, chopping the meat into very small pieces.
2.  While meat is browning, preheat the oven to 375 and spray 12 muffin tins with cooking spray.
3.  Drain the meat using a colander with very small holes.
4.  In a large bowl, combine the flour, baking soda, baking powder, wheat germ, Stevia, and salt.
5.  In a medium bowl, combine eggs, milk, butter, corn, oil, and meat.
6.  Pour the egg mixture into the dry ingredients and stir until mixed together well.
7.  Spoon the batter into your sprayed muffin tins.
8.  Bake for 20-25 minutes until the tops are perfectly golden brown....aaaaannnnndddddd.....

THESE MUFFINS ARE SO DELICIOUS! I plan on serving them with a big bowl of butter beans with plenty of celery seed. The perfect complimentary dish. Leave comments and let me know how yours turn out!

Read More...